Part 1: Introduction to Plant Propagators
What is a Plant Propagator?
A plant propagator is an essential tool for gardeners and horticulturists. Its primary function is to facilitate and improve the process of plant propagation, whether it's through seeds or cuttings. Essentially, a plant propagator provides a controlled environment that encourages optimal seed germination and root development, allowing plants to thrive during their most delicate stages of growth.
Why Use a Plant Propagator?
Plant propagators have several benefits. They allow for precise control of factors such as temperature and humidity, both of which significantly impact the success of seed germination and cutting rooting. Propagators can range from simple plastic containers to more sophisticated models with heating elements and ventilation systems.
Whether you're an experienced gardener looking to expand your plant collection, a nursery owner producing a large number of plants, or a novice interested in starting your plants from seeds or cuttings, a plant propagator is an invaluable tool. They offer a reliable way to start your gardening journey and provide optimal conditions for young plants to establish themselves.
Part 2: Understanding Plant Propagators
How Does a Plant Propagator Work?
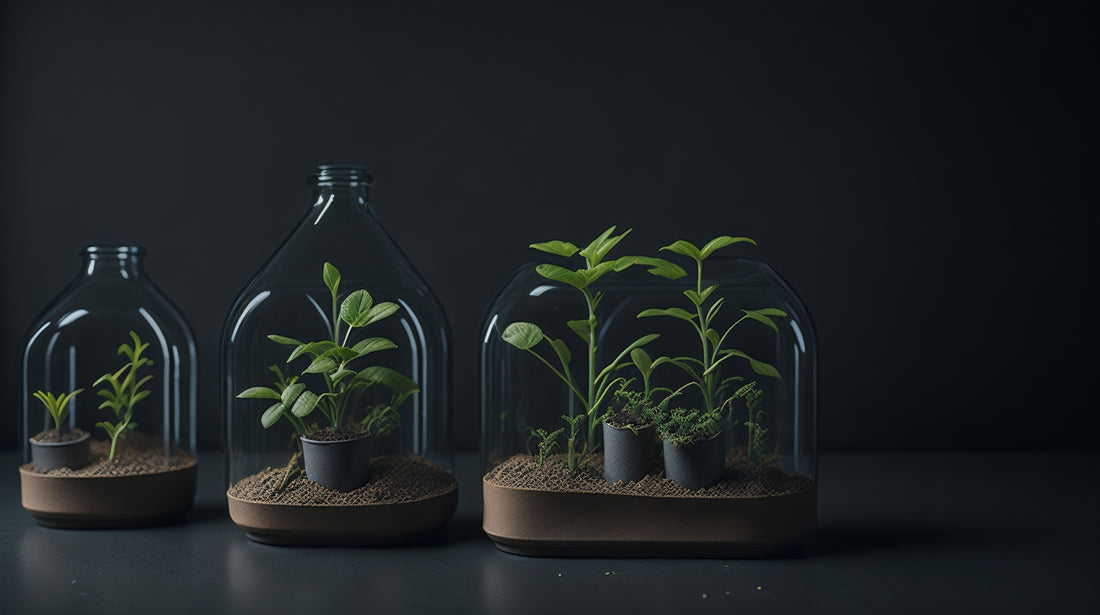
A plant propagator creates an environment conducive to seed germination and rooting cuttings. At its simplest, a plant propagator is a clear container that traps heat and moisture, maintaining a steady, warm, and humid atmosphere that encourages seeds to sprout and cuttings to develop roots. More advanced propagators incorporate adjustable heating elements and ventilation controls to fine-tune the growing conditions.
Types of Plant Propagators
Plant propagators come in different sizes and designs, each with its unique features and advantages.
-
Unheated Propagators: These are often simple, clear plastic containers with a lid. They rely on ambient heat and sunlight and are suitable for a wide range of plant species that don't require additional heat to germinate.
-
Heated Propagators: These models have a built-in heating element that warms the growing medium, promoting faster germination and growth. They are particularly beneficial for propagating exotic plants that need a consistently warm environment.
-
Self-Watering Propagators: These feature a reservoir that holds water, which is drawn up as needed by a wicking mat placed beneath the growing medium. This ensures the growing medium remains consistently moist, promoting steady plant growth.
-
Electric Propagators: Electric propagators often come with temperature and humidity control features, allowing you to create the optimal microclimate for your seeds or cuttings.
Benefits of Using a Plant Propagator
-
Controlled Environment: Propagators provide control over the temperature and humidity, crucial for successful seed germination and rooting cuttings.
-
Higher Success Rate: By creating optimal conditions, propagators increase the success rate of germination and cuttings taking root, reducing the waste of seeds and plant materials.
-
Extended Growing Season: Heated propagators can allow you to start seeds earlier in the year, extending the growing season and allowing for multiple planting cycles.
-
Protection: Propagators protect young plants from pests, diseases, and harsh weather conditions, giving them the best possible start in life.
Whether you're a novice gardener or a seasoned horticulturist, understanding the workings and benefits of plant propagators is essential for successful plant propagation. Further information and guidance can be found on Greenhouse Sensation and Seed Your Future .
Part 3: How to Use a Plant Propagator
Choosing the Right Propagator
The choice of propagator depends on the type of plants you want to grow, your budget, and the space available. If you're starting with easy-to-grow plants that germinate at room temperature, an unheated propagator may suffice. For more exotic plants, a heated propagator is likely necessary. Larger, electric propagators may be more suitable for those with larger growing ambitions or commercial growers.
Setting Up Your Propagator
After choosing the right propagator, the next step is to set it up. Here's a simple guide:
-
Clean the Propagator: Before planting, ensure the propagator is clean to reduce the risk of disease and pests.
-
Prepare the Growing Medium: Fill your trays or pots with a suitable seed compost. This should be well-draining but able to retain moisture. For cuttings, you might use a mixture of perlite and peat-free compost.
-
Place Trays or Pots in the Propagator: Arrange your trays or pots within the propagator. Make sure they're evenly spaced to allow good air circulation and prevent overheating.
Planting Seeds or Cuttings in the Propagator
-
Planting Seeds: Plant the seeds according to the packet's instructions, usually at a depth of two times the seed's size. Cover the seeds with a fine layer of vermiculite or compost, then gently water them.
-
Planting Cuttings: Dip the cut end of your cutting into rooting hormone, then insert it into your prepared growing medium.
Once you've planted your seeds or cuttings, place the propagator lid on top, ensuring it's securely fastened.
Managing Temperature and Humidity in the Propagator
Once everything is planted, you need to manage the temperature and humidity:
-
Temperature: Monitor the temperature regularly. For heated propagators, adjust the temperature according to the needs of your plants.
-
Humidity: To increase humidity, you can mist the inside of the propagator lid before securing it. Ventilation holes can be opened to reduce humidity.
Check on your propagator daily. Look out for any signs of germination or root growth, and monitor the moisture levels, adding water as necessary. However, be careful not to overwater as this can lead to fungal diseases.
Part 4: Caring for Plants in a Propagator
When to Remove Plants from the Propagator
The timing of removing plants from the propagator depends on the plant species and their growth stage. Seedlings are usually ready to come out of the propagator once they've developed their first true leaves – these are the leaves that appear after the initial seed leaves. For cuttings, look for signs of new growth, which indicates that roots have formed.
Once they're ready, it's crucial to harden them off gradually. Start by opening the ventilation on the propagator, then after a few days, you can remove the lid during the day. After a week or so, you can take the lid off completely. Gradually exposing them to the outside environment will help them adjust and prevent shock.
Common Issues and How to Address Them
Using a propagator can occasionally lead to some issues, but most are easy to address:
-
Overwatering: This is a common issue that can lead to fungal diseases. To avoid it, always ensure the growing medium is damp but not waterlogged.
-
Too High Temperature: High temperatures can lead to leggy seedlings. Always monitor the temperature and adjust accordingly.
-
Lack of Ventilation: A lack of fresh air can lead to a buildup of humidity and potential disease issues. Ensure you're using the ventilations in the propagator lid to regulate humidity levels.
Remember, the key to successful propagation is observation. Keep a close eye on your plants, looking out for any changes in their health or growth. By doing so, you can quickly address any issues before they become problematic.
Part 5: FAQs on Plant Propagators
How do you use a plant propagator?
Using a plant propagator involves several steps. First, select the right type of propagator for your plants. Then, fill it with a suitable growing medium. Plant your seeds or cuttings, then adjust the temperature and humidity to the correct levels. Monitor your plants as they grow and make adjustments as necessary. Remember to harden off your plants before removing them completely from the propagator.
What can I use instead of a propagator?
If you don't have a propagator, you can improvise with everyday items. A plastic container with a clear lid can work well, as can a glass jar turned upside down over a small pot. Just ensure that whatever you use allows light in, can retain heat, and enables you to control humidity levels.
What do you put in a propagator?
In a propagator, you put a growing medium (such as compost or a special seed starting mix), and then the plant seeds or cuttings. Some propagators may also contain heat mats or humidity domes to help control the environment better.
How long should seedlings stay in a propagator?
The length of time seedlings stay in a propagator depends on the plant species and their rate of growth. Generally, seedlings can be removed once they have developed their first true leaves. However, they should be hardened off gradually to adjust to the outside environment.